Servus zusammen,
ich habe ein kleines, (für mich) triviales Projekt vor.
Für ein kleines Fest (200 Personen) habe ich Eintritskarten erstellen, welche mit einem QR-Code fälschungssicher gestaltet werden sollen. Diese sollen anhand einer Android-App validiert werden.
Kurzfassung:
- Jede Eintrittskarte hat einen separaten QR-Code
- Jeder QR-Code enthält eine Prüfziffer, bestehend aus 4 Ziffern (Zahlen und Buchstaben)
- Die Prüfziffern sind Nummeriert (zB.: 001=AF65, 002=6s5f, 003=...,...)
- Die Prüfziffern sind inkl. Nummerierung in einer Excel gespeichert
- Der QR-Code beinhaltet somit eine .txt Datei
Nun meine Idee:
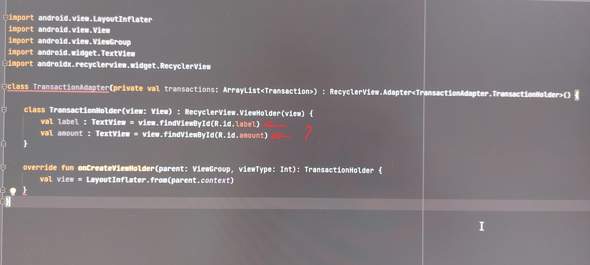
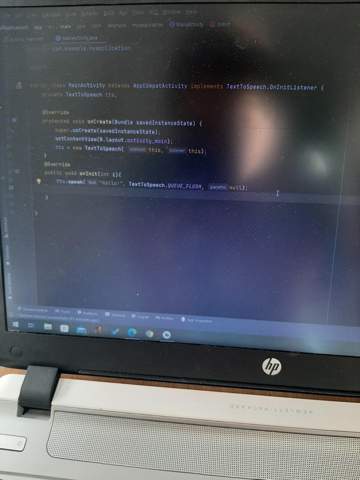
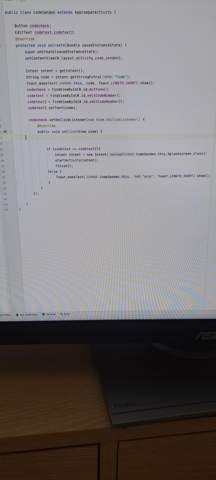
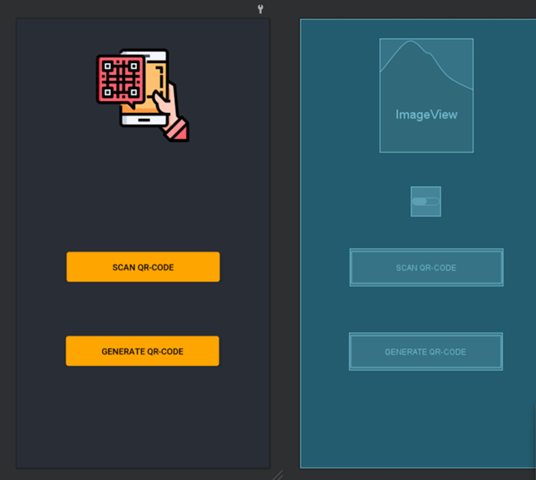
- App entwickeln, welche einen QR Code Scanner beinhaltet
- die App soll den inhalt des QR-Codes anhand der hinterlegten Excel-Datei wie folgt prüfen:
- stimmt die Prüfziffer mit der Nummerrierung überein, und
- wurde das Ticket doppelt abgescannt
Nun meine Frage: Lässt sich mein Vorhaben relativ trivial umsetzten; Kann ich zb. den Code für den QR-Scanner irgendwo her kopieren?
Ich würde mich sehr gerne in Kotlin und Android Studio einlesen wollen (besitzte grundlegene Erfahrung in Python, C++ und Java); Kann mir da jemand ein Buch empfehlen?